One Room Challenge: Week 5 - The Pantry

Ahh! Its coming together so well and I am loving how its looking! This week we added drawers and hardware to the cabinets, and completed our custom countertops! It’s a functional (if not complete) pantry, and I am so excited to be able to easily find things/not have to dig them out of a box every night.
The drawers were easy-peasy since we used Ikea units - I simply followed the directions, and they were done within an hour or two. I ordered some brass finger pulls from Amazon that matched the finish of the kitchen cabinetry, and installed those. I really wanted drawers instead of just shelving because I find they are easier to keep organized - it would have been less expensive to use shelves instead but I know my family. I also plan on keeping all of the snack items down low so that my kids have easy access, so drawers were the best option.
For the counters, I had to do some problem solving. First, stone was never going to be in the budget, so that left laminate or a butcher block. The problem with those is that they generally only come in a standard depth of 24” - but if you remember, our cabinets are only 15” deep. If I got a standard countertop, I was going to have to rip it down using a table saw - and I wasn’t sure I wanted to take that on. Imagine my delight when I found these project boards at Lowes when I was wood shopping - 16” deep, and only $30 (instead of $79, which was the least expensive counter option I could find).

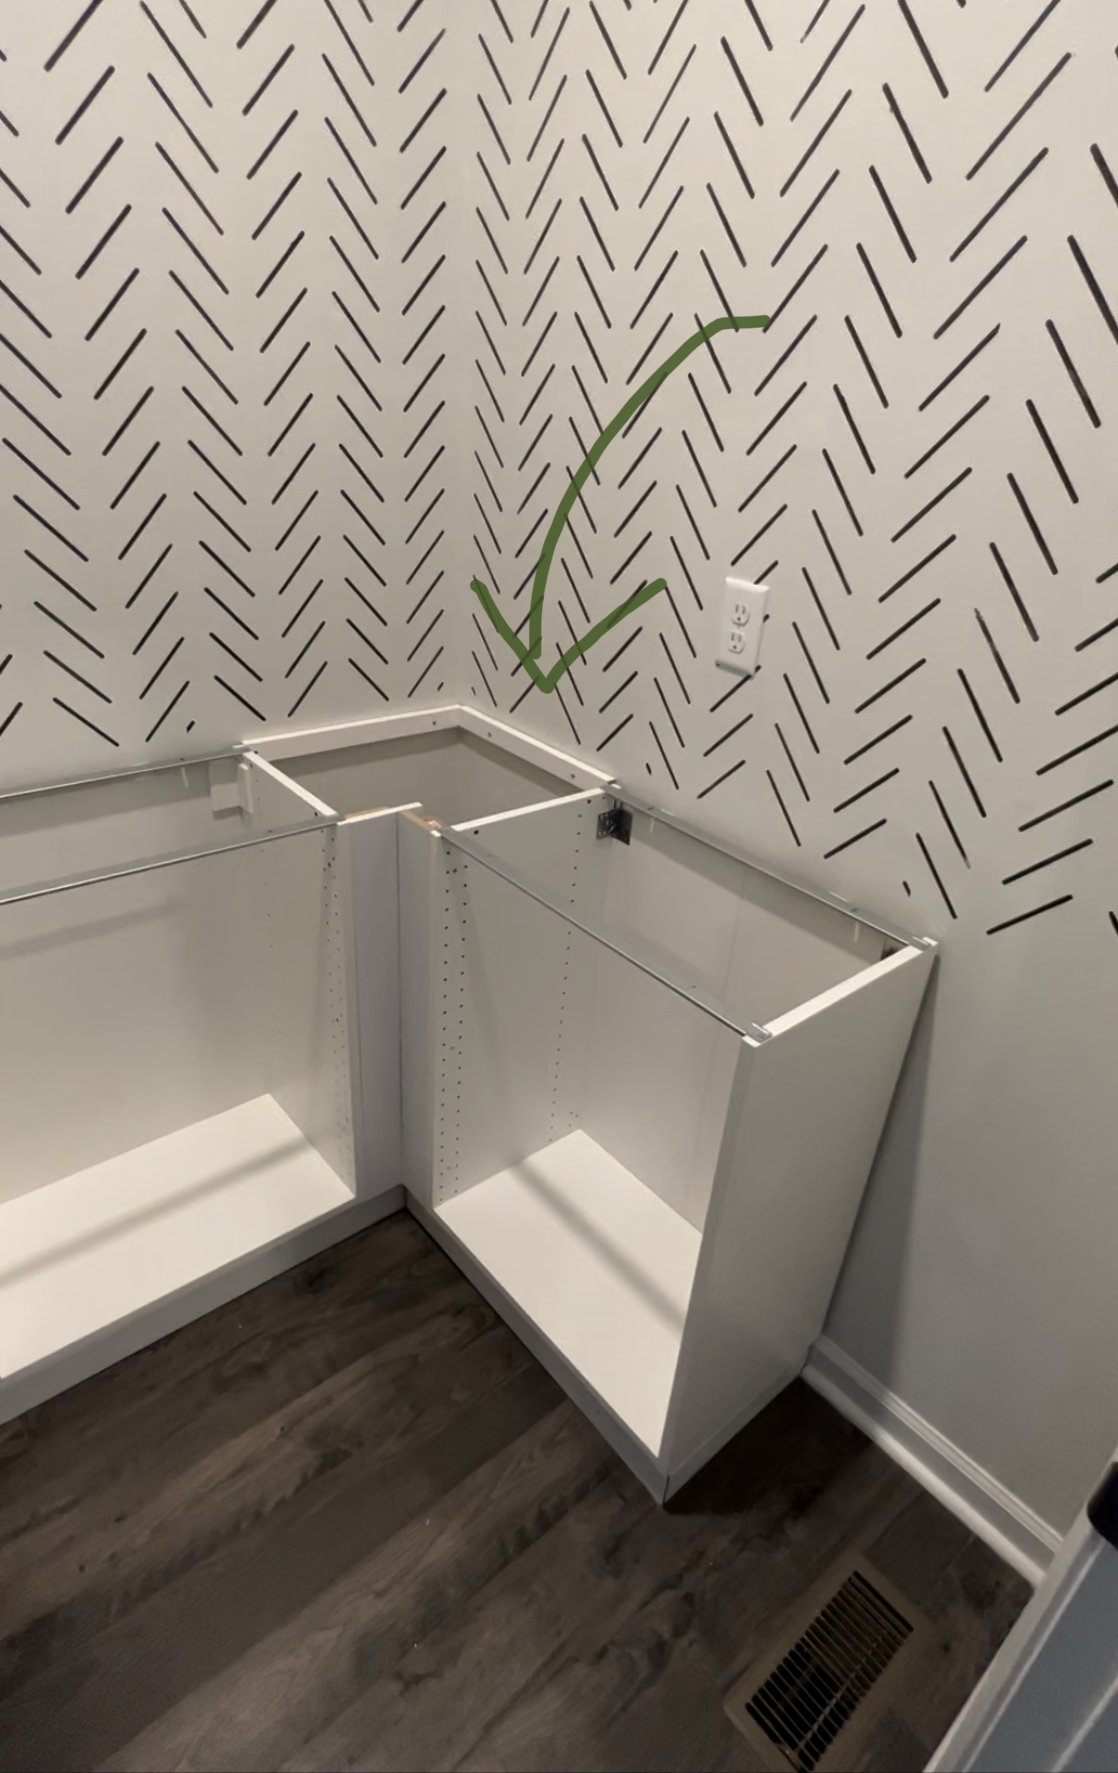
I also needed to build some supports for the counters where there were no cabinets. I did that by adding strips of wood along the gaps to create a ledge for the counters to sit on. This way there was no risk of the cabinet bowing, or flipping in those areas. The hardest part of this was making sure it was level with the cabinets (and making sure to screw them into studs - or using heavy duty wall anchors if there was no stud on the stretch.)
Now, I don’t know if you are aware of this - but rarely are walls square in a home - even a new build. What this means is that none of the corners are exactly 90 degrees, so you can’t just measure and cut. It took quite a few attempts (because I didn’t want to OVER cut), but I finally got them fitted in there pretty close to perfect. Originally I planned on just staining the wood, but the more I looked at it in the space, the more I felt like it needed more. So, I purchased some marble contact paper and wrapped the boards following the directions. I only covered the tops and sides since the bottom wouldn’t be seen. Overall, I LOVE how it turned out and the contrast it adds! It was a super easy project, and comes in a variety of sizes.

Next week we will be building the floating shelves and I’ve so excited (but also nervous since I’ve never done a floating shelf before).
If you want to check out where everyone else is in their projects, head on over to the One Room Challenge website and take a peak!