One Room Challenge: The Pantry - Week 3

Week 3 of the ORC is here and this week is painting week! Well, painting the walls anyways. I really wanted some pattern in this space, but my husband is not a huge fan of wallpaper (still not sure what that is about but whatever) - so I decided to go with a stencil to add some pattern and color. A stencil is a great way to create the appearance of wallpaper without the cost (but it still requires labor/time).
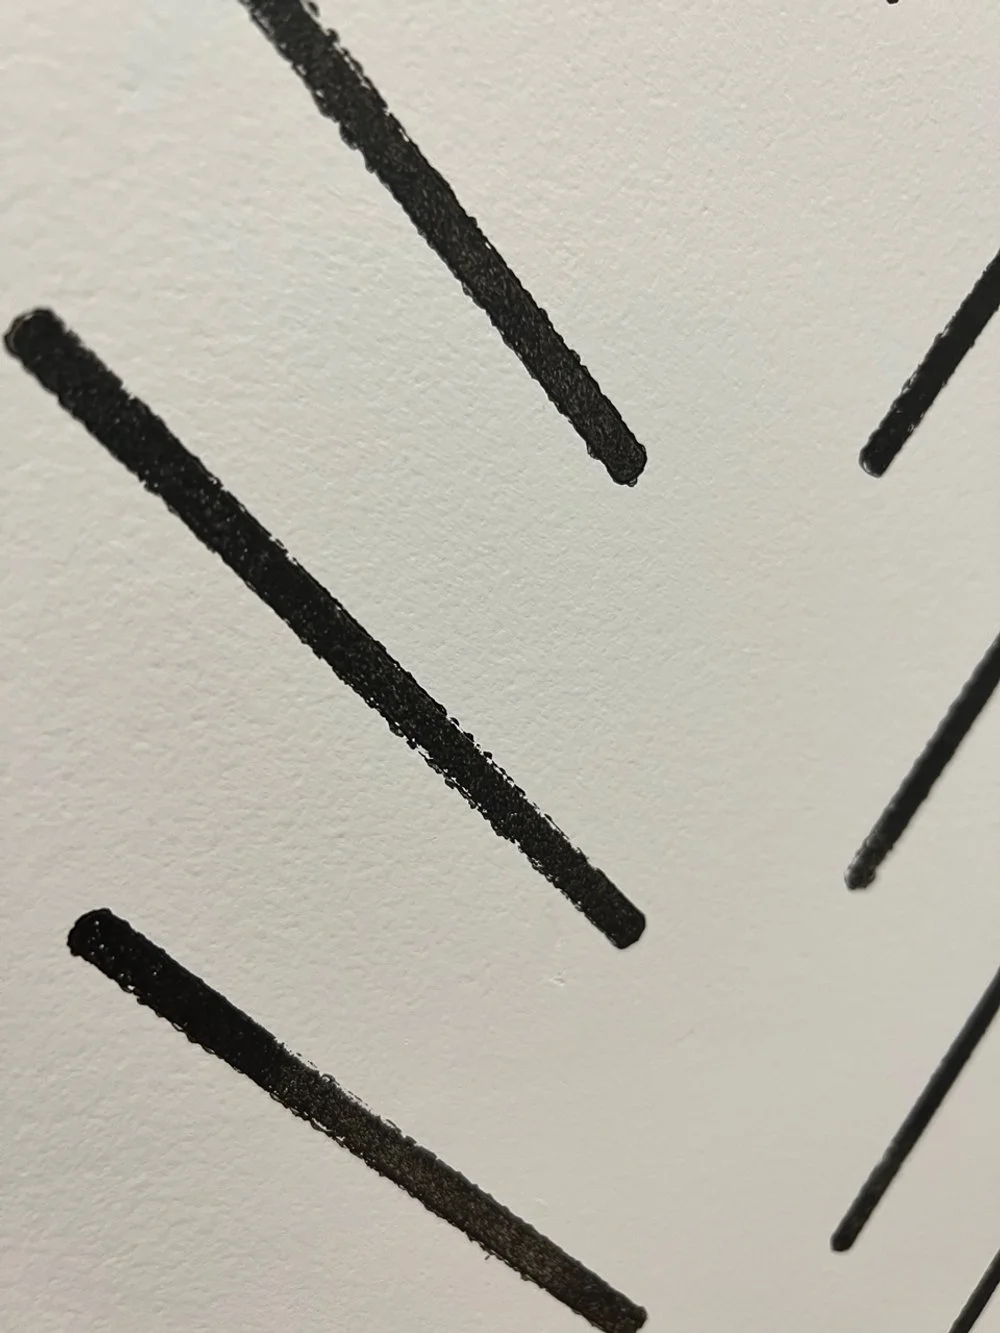
I do want to point out that if you are looking for a clean, crisp, perfect pattern repetition - then a stencil is not a good choice. If you are okay with a more organic look and a few imperfections (could argue is character), then a stencil is a great option.
You can see some of the imperfections in this close up photo - they aren’t noticeable from far away but definitely not for a perfectionist!
Below are some tips that I want to share if you decide to go this route too:
1) Paint the base color first - I chose Spare White by Sherwin-Williams, which gives a clean, bright look but with just a hint of gray. Make sure to let it dry fully before moving on to using the stencil otherwise you will damage the finish when you’re using painter’s tape or adhesive spray (which I did in a few spots unfortunately).

You can see where the base coat peeled here when I pulled the tape off moving the stencil around. I will need to touch these spots up later.
This can happen for a few reasons (including using latex paint over an oil based paint), but in this case it’s because I didn’t give the base coat enough time to fully cure - so don’t make that mistake!
2) Practice on a scrap piece of cardboard before trying on the wall, especially if you feel nervous!
3) Don’t use too much paint (it will run under the back of the stencil) - a light coat gives you a nice finish and keeps it from dripping.
4) Do clean your stencil regularly - it will help keep it from smudging. I cleaned it after every 2-3 sections and used the bathtub to clean it. Also, cleaning it will allow the pattern on the wall to dry, which will make it easier to line up the next row.
6) Remember - its just paint! Worse case scenario you can either touch up after everything is dry or you can paint over it and try again.
Overall, I absolutely love how it turned out and can’t wait to bring cabinets in this week! Stay tuned - and in the meantime go check out some of the other projects that are happening at the One Room Challenge page!